STROKOVNO SVETOVANJE
od 9. do 15. ure



Ni izdelkov
Brezplačna dostava! Dostava
0,00 €Cena skupaj
Izdelek je bil uspešno dodan v vašo košarico
( ks)
Nakupite še za in imate brezplačno dostavo
Imate brezplačno dostavo!
 Povečaj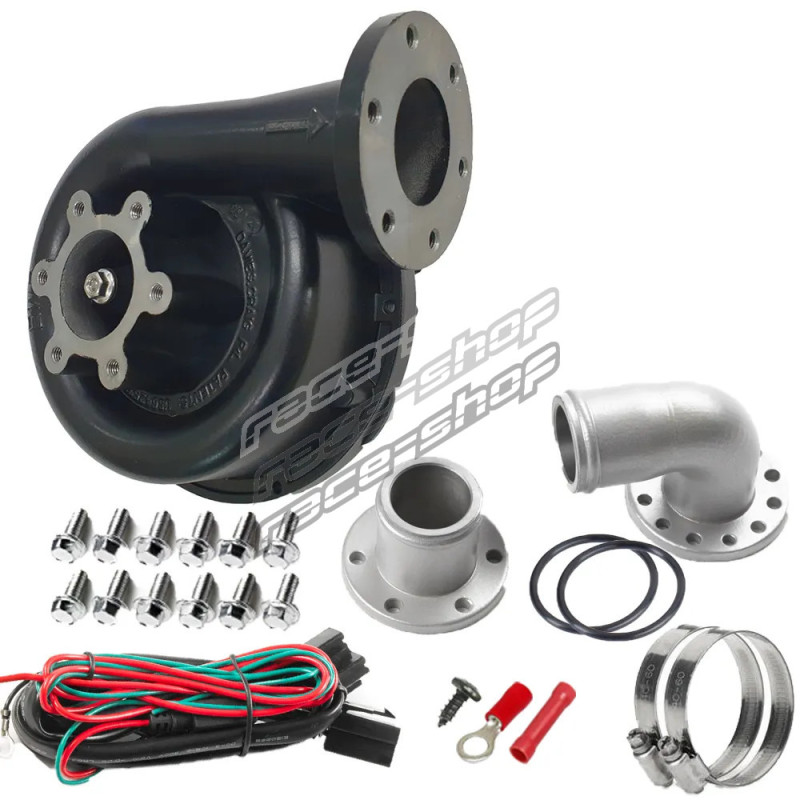
*413 901
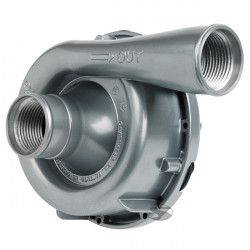
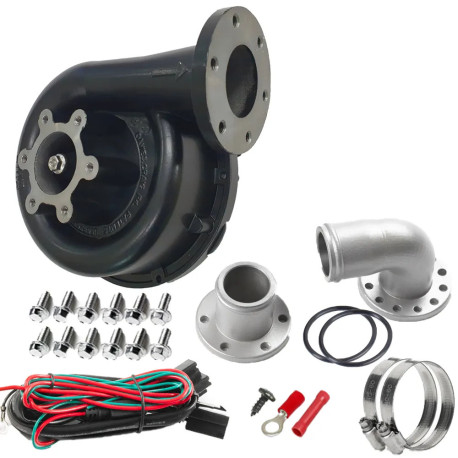
Turbocharge your engine cooling with the Davies Craig EWP®140 alloy Electric Water Pump. Key specs: 147 L/min (38.8 US gal/min) @ 13V DC flow rate; 10A @ 13V max current.
Nov izdelek
8090
9311669080908

EWP140 Kit Black - Remote Electric Water Pump (12V)
Turbocharge your engine cooling with the Davies Craig EWP®140 alloy Electric Water Pump. Key specs: 147 L/min (38.8 US gal/min) @ 13V DC flow rate; 10A @ 13V max current.
Vprašanje o tem izdelku pošljite lastniku trgovine.
* Obvezna polja
ali Prekliči
EWP140 Kit Black - Remote Electric Water Pump (12V)
To be informed about product update via email, fill out the form.
* Required
or Cancel
Turbocharge your engine cooling with the Davies Craig EWP®140 alloy Electric Water Pump. Key specs: 147 L/min (38.8 US gal/min) @ 13V DC flow rate; 10A @ 13V max current.
Turbocharge your engine cooling with the Davies Craig EWP140 alloy Electric Water Pump. Like all the EWPs, this unit is designed for universal engine fitment, to satisfy those larger and higher horsepower, turbocharged, supercharged and ‘worked’ engines which develop excessive heat.
The EWP140 configuration mirrors the highly successful EWP80 which offers a numerous selection of attachment options, including elbow and straight adaptors. This rugged alloy hi-flow pump increases power and improves coolant temperature control. By removing parasitic power losses, the EWP140 releases up to 10kW (13hp).
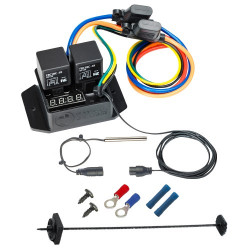
Combined with an LCD EWP/Fan Digital Controller (Sold separately Part DC8002 or combo DC8980) will manage both the EWP and Thermatic fan operation. The Digital Controller will vary the speed of the EWP in response to the engine’s coolant temperature. Multiple temperature settings are provided on the Controller for either maximum power or fuel efficiency.
The world’s most advanced total engine cooling management system:
In both these cases, the EWP will pump past the impeller of the mechanical water pump.
In most cases EWP® will be adequately supported by the radiator hose. Where mounting is required, the EWP® must be soft mounted to protect against vibration. For the EWP® 115, EWP® 140 and EWP® 150 Part DC8700 or DC8710 Mounting bracket is recommended.
This discussion is especially meant for information exchange between customers. For questions regarding your order or stock availability, please contact us directly.





Ni proizvajalca